How to Edit Your YouTube Videos: Best Tools, Tips, and Troubleshooting Guide
⏱ Reading Time: 11 min.
📅 Posted on: June 13th, 2024
Creating captivating YouTube videos isn't just about hitting the record button; it's about crafting a story that keeps viewers coming back for more.
Whether we're seasoned creators or just starting out, mastering the art of video editing can make a world of difference in our channel's success.
Key Takeaways
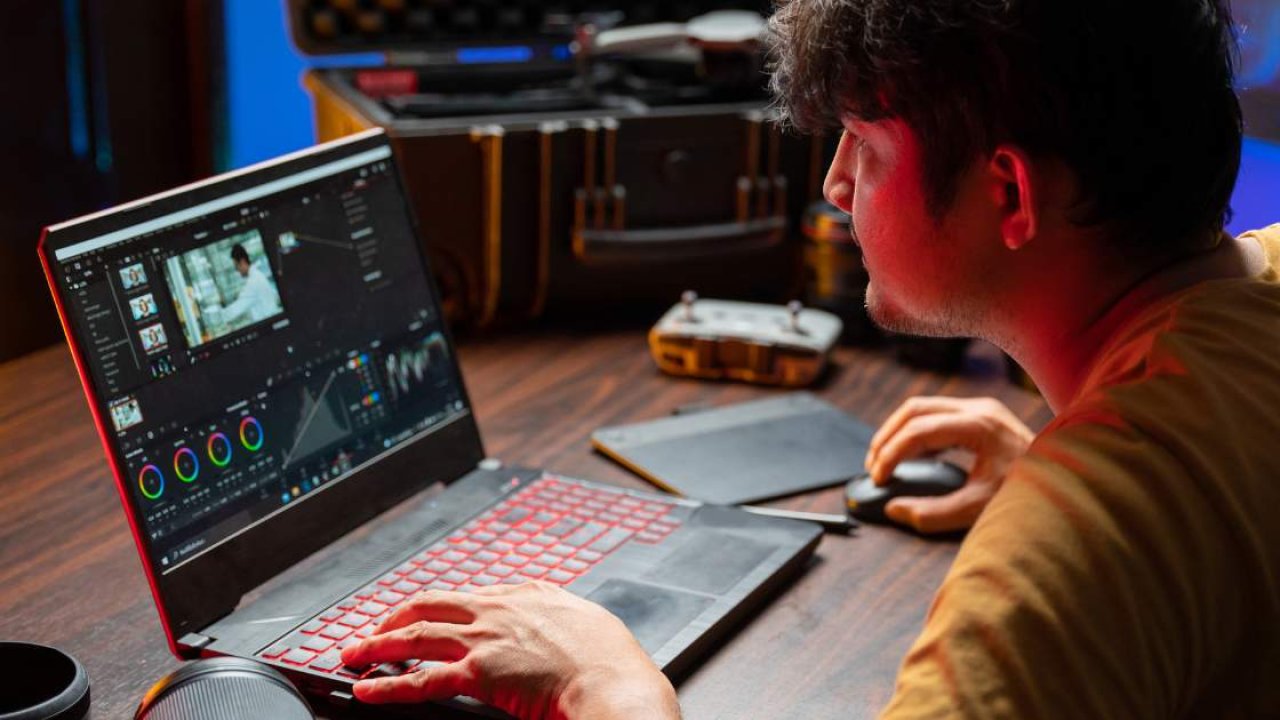
Essential Tools and Software: Choose video editing software like Adobe Premiere Pro, Final Cut Pro X, iMovie, or DaVinci Resolve based on your expertise level. Invest in robust hardware including a high-performance computer, SSDs, high-resolution monitors, and quality audio equipment.
Setting Up Your Editing Environment: Organize your workspace for productivity, configure your editing software for efficiency, and ensure proper export settings to match YouTube's quality requirements.
Fundamentals and Advanced Editing Techniques: Master basic editing techniques such as trimming, cutting, and splitting clips, and advanced techniques like color correction, sound editing, and adding effects to enhance video quality and viewer engagement.
Adding Titles, Graphics, Effects, and Filters: Utilize engaging titles, graphics, overlays, and filters to make your videos visually appealing and retain audience interest.
Audio Editing: Import, sync, and edit audio effectively to elevate the viewer's experience. Use tools like Adobe Audition for precise sound adjustments and ensure perfect synchronization with video.
Exporting and Troubleshooting: Select the right format and settings for exporting videos, test playback on various devices, and resolve common issues like syncing problems and quality degradation to ensure a professional final product.
Essential Tools and Software
Editing your YouTube videos requires the right tools and software to ensure high-quality results. The selection of suitable video editing software and hardware plays a significant role in the editing process.
Choosing the Right Video Editing Software
Choosing suitable video editing software impacts the ease and quality of your editing process. There are various video editing tools available, catering to different levels of expertise and requirements.
Adobe Premiere Pro: This professional-grade software offers extensive features, including advanced color grading, motion graphics, and seamless integration with other Adobe products. Ideal for experienced editors aiming to produce high-quality content.
Final Cut Pro X: Exclusive to Mac users, Final Cut Pro X is known for its efficient workflow and powerful editing capabilities. It is perfect for users wanting high performance and ease of use.
iMovie: For those starting, iMovie provides an intuitive interface with basic editing features. It's a good choice for beginners who wish to quickly edit their videos and upload them on YouTube.
DaVinci Resolve: This tool offers a combination of professional editing features and a comprehensive color correction suite. Its free version is highly capable, making it an economical option for semi-professional editors.
If you want to learn more, we spoke in depth about video editing software here:
Editing Software
Need help choosing the best YouTube video editing software? This guide will walk you through different video editors and will help you pick the best option for your video editing needs!
viddly.net
Recommended Hardware for Editing Videos
Effective video editing demands robust hardware to handle large video files and ensure smooth performance.
High-Performance Computer: A computer with a multi-core processor, at least 16GB of RAM, and a dedicated graphics card (GPU) like NVIDIA GeForce RTX 3060 ensures faster rendering and smooth playback.
Fast Storage Solutions: SSDs (Solid State Drives) provide faster read/write speeds compared to traditional HDDs, reducing load times and improving overall performance. Consider using an external SSD for additional storage.
High-Resolution Monitor: A 4K monitor with accurate color reproduction aids in detailed editing and precise color grading, enhancing the final output.
Audio Equipment: Investing in good quality headphones and microphones enhances audio editing, ensuring that your videos have clear and professional sound.
By utilizing the right software and hardware, we ensure that our video editing process is efficient and our YouTube videos are of the highest quality.
Setting Up Your Editing Environment
Setting up the right environment enhances efficiency and creativity, leading to professional YouTube videos.
Organizing Your Workspace
A clutter-free workspace is essential for productivity. Arrange equipment like computers, monitors, and audio devices in a way that minimizes distractions. Keep your desk clear of unnecessary items. Position your monitor at eye level to prevent neck strain and optimize comfort. Use cable management solutions to keep wires organized.
Video editing sessions can be long, so making sure you don't get tired fast and stay motivated is key!
Configuring Your Editing Software
Proper configuration of your video editing software ensures smoother workflows.
Customize the workspace layout in tools like Adobe Premiere Pro or Final Cut Pro X for quick access to frequently used features.
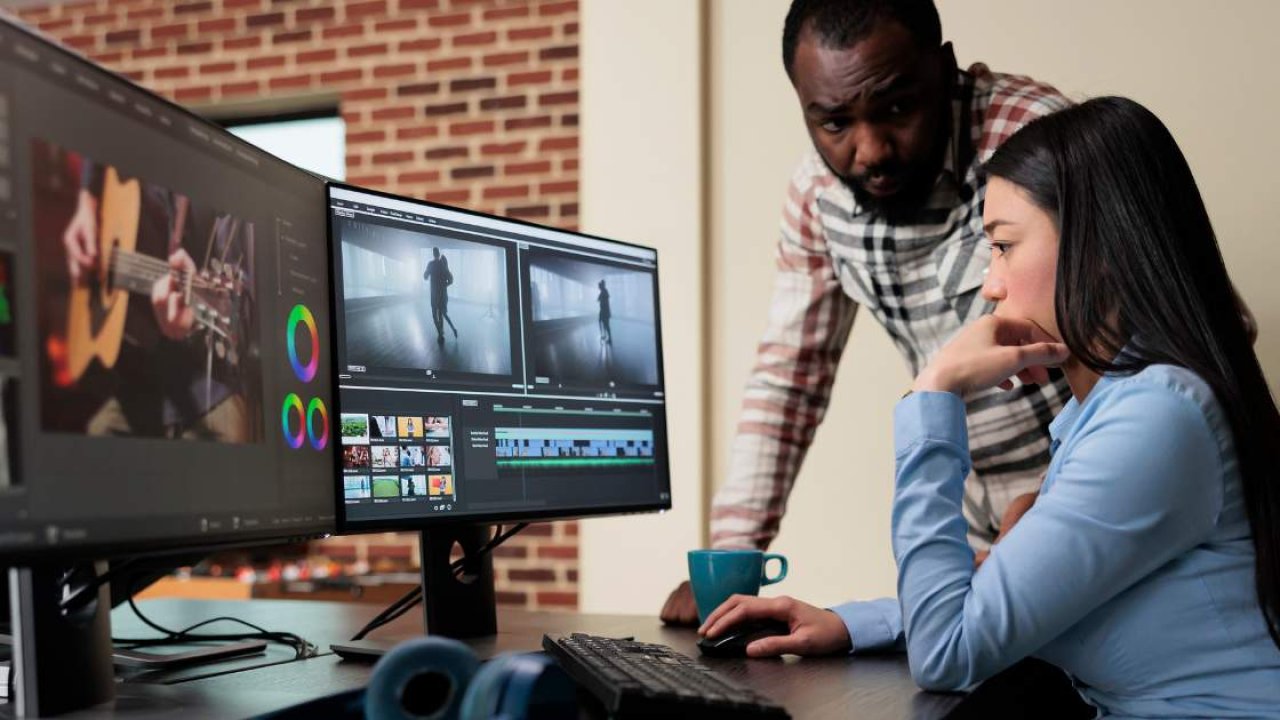
Set up hotkeys for common actions, such as cutting, pasting, and previewing to save time. If you are new, write down all the shortcuts on a piece of paper and my personal pro tip...
When you do an action without a shortcut, undo it and do it again with a shortcut. This will allow you to rewire yourself to use shortcuts instead. While it might feel like waste of time on first few editing sessions, trust me this is time well spent and will speed up your editing process in the long run.
Also, enable autosave features to prevent data loss.
Finally, adjust export settings to match the quality requirements of your YouTube content.
Fundamentals of Video Editing
Understanding the fundamentals of video editing is crucial for producing high-quality YouTube content. Mastering these basics allows us to craft engaging and visually appealing videos.
Importing Your Videos
Importing videos is the first step in the editing process. Start by transferring footage from cameras or smartphones to a dedicated folder on your computer.
Use professional editing software like Adobe Premiere Pro or Final Cut Pro X to import the files. By keeping the footage organized into folders based on projects or scenes, we ensure easy access and minimize confusion during editing.
If you have SSD and HDD drives on your computer, be sure that the footage is on SSD hard drive - this will make clip loading much faster.
Basic Editing Techniques
Basic editing techniques involve trimming, cutting, and splitting video clips. In Adobe Premiere Pro, tools like the Razor Tool help cut clips precisely. Use the Ripple Delete feature to remove unnecessary segments without leaving gaps.
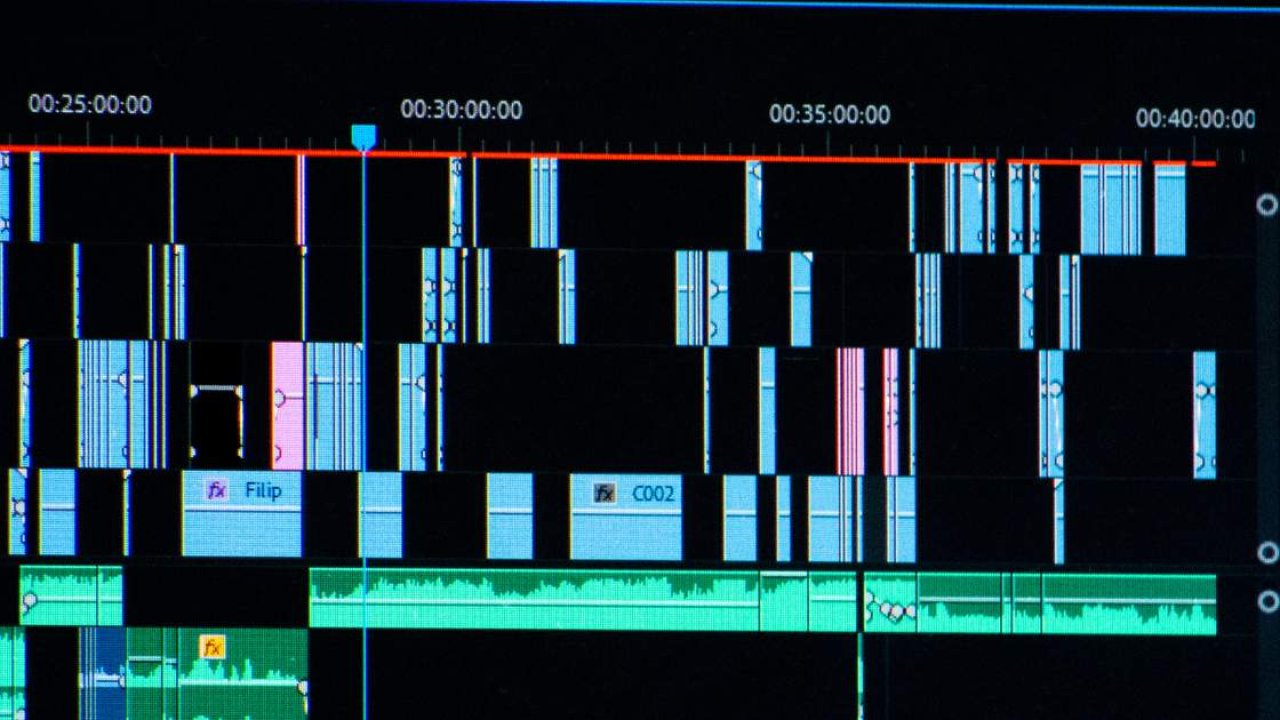
Applying transitions between clips, such as fades or cross-dissolves, enhances visual flow. Ensuring smooth audio transitions is equally important; adjust audio levels and apply crossfades for seamless sound. Utilizing these fundamental techniques can significantly improve the overall quality of YouTube videos.
Advanced Editing Techniques
Advanced editing techniques elevate our YouTube videos to a professional level. Utilizing sophisticated methods enhances both visual and audio quality, captivating a broader audience.
Color Correction
Color correction refines the visual appeal of our videos. Implement a consistent color palette to maintain visual coherence.
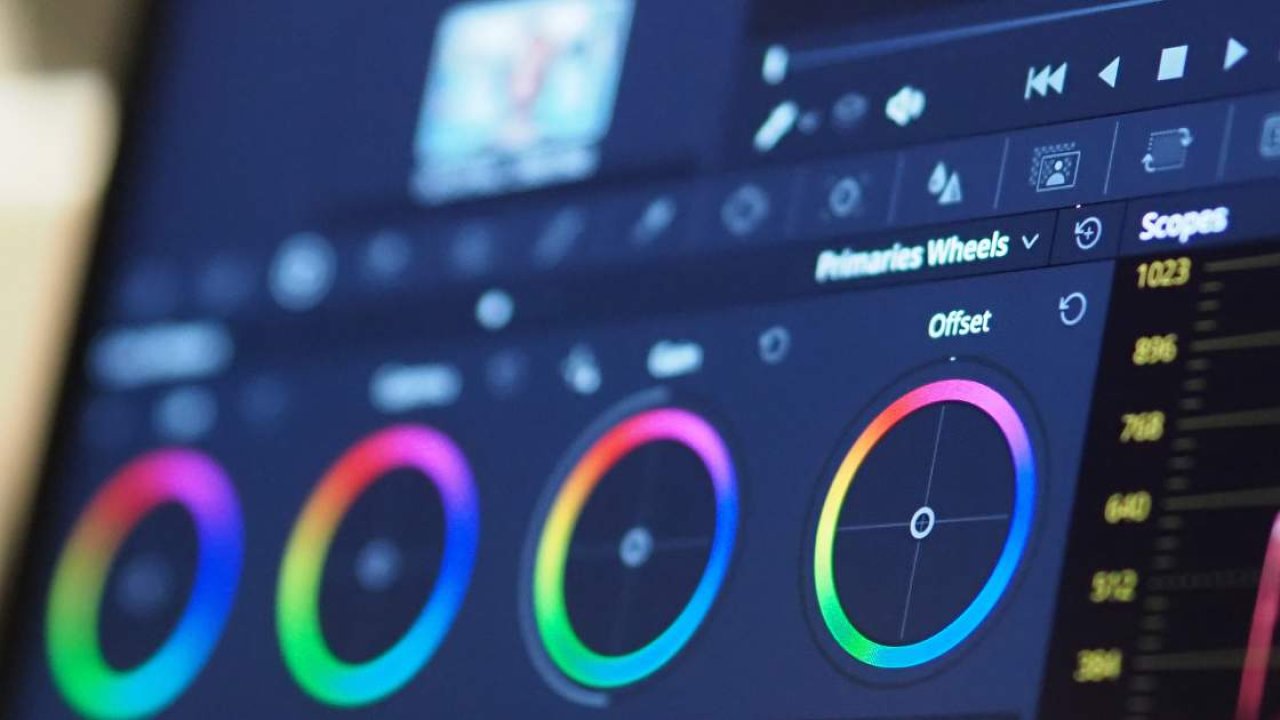
Use tools like Adobe Premiere Pro or DaVinci Resolve for detailed adjustments. Adjust brightness, contrast, and saturation levels to ensure a balanced look.
For example:
Adjust the Exposure to correct underexposed or overexposed footage.
Modify White Balance to achieve natural color tones.
Apply Color Grading to create specific moods or styles.
Proper color correction makes our videos visually compelling and consistent with our brand.
Sound Editing and Enhancements
Sound editing is crucial for delivering high-quality audio in our videos. Implement noise reduction tools to eliminate background noise. Use software like Adobe Audition or Final Cut Pro X for precise sound adjustments.
Key steps include:
Balancing Audio Levels: Ensure dialogue, music, and sound effects are clear and balanced.
Applying EQ (Equalization): Adjust frequencies to enhance vocal clarity or music depth.
Adding Sound Effects: Incorporate effects to emphasize actions or transitions.
Superior sound editing enhances the overall viewing experience, making our YouTube content more engaging and professional.
Adding Titles and Graphics
Adding titles and graphics enhances the visual appeal of our YouTube videos and makes them more engaging for viewers.
Creating Engaging Titles
Select appropriate fonts and colors for titles to maintain consistency with our brand identity. Use text elements to summarize the video content effectively. Consider placing the title at the beginning of the video to immediately capture the viewer's attention.
Incorporate animation to make titles dynamic; software like Adobe Premiere Pro offers various text animation options. Pay attention to the duration; titles should appear long enough to read but not so long that they disrupt the viewing experience.
Incorporating Graphics and Overlays
Use graphics and overlays to enrich the visual experience. Utilize lower-thirds to provide additional context, like the names of persons speaking. Implement logos and channel branding elements to reinforce identity.
Make sure overlays are not overly distracting by keeping their design simple and clean. Tools like Final Cut Pro X and DaVinci Resolve enable us to add professional-grade overlays seamlessly. Adjust transparency and timing to ensure overlays complement rather than overshadow the main content.
Integrate these techniques to enhance viewer engagement and retain audience interest throughout our YouTube videos.
Enhancing Your Video with Effects and Filters
Improving the visual appeal of YouTube videos involves using effects and filters effectively. These elements help create a polished and professional look.
Using Effects Wisely
Effects add dynamic elements to videos. For example, adding transitions between scenes prevents abrupt cuts.
Fade and Cross Dissolve transitions create smooth scene changes. Additionally, use motion blur effects to make movement appear more natural. When applying effects, ensure they match the video’s tone.
Overusing effects can distract viewers. Basic effects, like zoom or pan, draw attention without overwhelming the content.

Exploring Filter Options
Filters enhance the overall mood and style of videos. Color grading filters adjust color tones to fit various genres.
For instance, warm filters add a cozy feel, while cool filters convey a more somber mood. Black and White filters provide a classic look. Vignette filters focus attention on the center by darkening edges. Experimenting with different filters can help find the best fit for each video’s narrative.
Bold the answer directly within the optimized guidelines for clarity and knowledge dissemination. Enhanced video quality captures audience interest and boosts engagement effectively.
Adding and Editing Audio
Seamless audio enhances viewer engagement in YouTube videos. Let's explore how to import and sync audio efficiently.
Importing Audio Files
Importing audio files begins with selecting quality audio tracks. Utilize uncompressed formats like WAV or AIFF for the best outcome.
In Adobe Premiere Pro, select the 'Media Browser' panel, locate your audio files, then drag them to the 'Project' panel. In Final Cut Pro X, go to 'File,' then 'Import,' and choose 'Media,' navigating to your audio files. Similar steps apply to other editing tools like iMovie and DaVinci Resolve.
Syncing Audio with Video
Syncing audio with video enhances viewing experience. Start by dragging your video and audio files onto the timeline.
Align visual cues, such as claps or dialogue start, with corresponding audio spikes in the waveform.
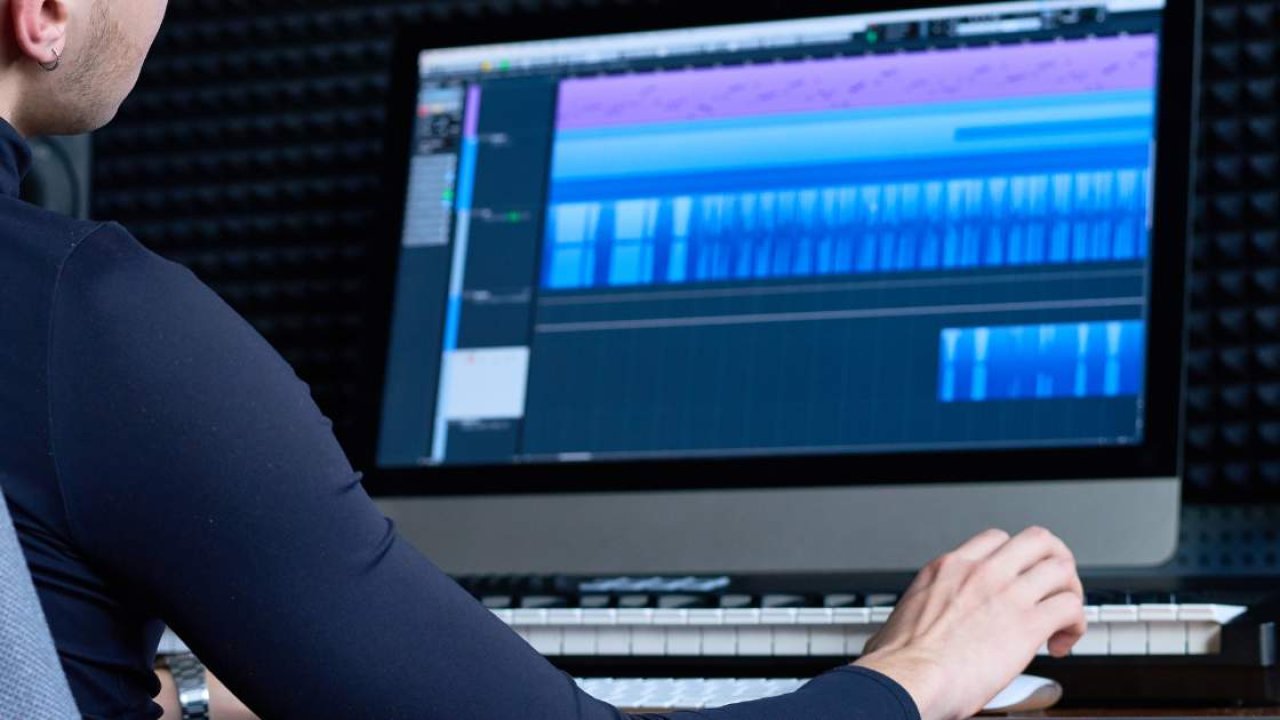
Use the 'Synchronize' feature in tools like Adobe Premiere Pro or Final Cut Pro X for automatic syncing. Manually adjust finer details by zooming into the timeline and nudging the audio to match exact frames.
For perfect synchronization, ensure both audio and video are recorded at the same frame rate. Any discrepancies can lead to sync issues. Use markers and waveforms as visual aids in this process, ensuring precision.
By mastering these audio editing techniques, we can significantly enhance our YouTube videos' professional quality.
Exporting Your Video
After editing, exporting the video with optimal settings ensures high-quality playback. We will focus on selecting the right format and verifying playback across different devices.
Choosing the Right Format and Settings
To maintain quality, choose the right format and settings for your YouTube videos. High-definition formats, like MP4, provide optimal video and audio quality. MP4 (H.264 codec) is widely recommended due to its balance of good quality and manageable file size.
Set the resolution to at least 1920x1080 (Full HD). For the best viewing experience, go for 4K (3840x2160) resolution if your footage supports it. Adjust the bitrate depending on the resolution: for 1080p, use 8 Mbps for SDR (Standard Dynamic Range) and 12 Mbps for HDR (High Dynamic Range); for 4K, opt for 35-45 Mbps for SDR and up to 68 Mbps for HDR.
Testing Playback on Different Devices
Before uploading, ensure the video plays correctly on various devices. Upload the video privately to YouTube to verify consistency. Check playback on smartphones, tablets, and different desktop browsers.
This process helps identify any inconsistencies in audio synchronization, resolution, or general playback quality. Making these adjustments ensures the video meets viewers' expectations and delivers a professional experience.
Common Issues and Troubleshooting
Identifying and resolving common issues in video editing ensures a smooth viewing experience and enhances engagement. Below are some frequent problems and their solutions:
Syncing Problems
Syncing issues often arise when audio is out of alignment with video. To fix this, check your editing software settings for frame rate and ensure it matches the source video. Use tools like Adobe Premiere Pro for visual and auditory waveform alignment.
If the problem persists, consider re-importing the audio to see if it resolves inconsistencies. Testing the playback on different devices also helps identify and address these issues.
Quality Degradation After Export
Quality loss after exporting videos indicates suboptimal export settings or incorrect format selection. Ensure the export settings match the desired resolution, preferably 1920x1080 or 4K for high-quality playback. Use MP4 format with H.264 codec to maintain balance between file size and quality.
Adjust the bitrate to an appropriate level, considering platform guidelines for YouTube.
Double-check settings in DaVinci Resolve or Final Cut Pro X to confirm optimal export choices.
By tackling these common issues, we ensure our YouTube videos maintain high quality and provide a seamless experience for viewers.
Conclusion
Editing YouTube videos can seem daunting but with the right tools and techniques it becomes an art form that enhances viewer engagement.
By focusing on storytelling and optimizing both visual and audio elements we create content that stands out. Leveraging tools like Adobe Premiere Pro and DaVinci Resolve helps us achieve professional-quality videos.
Exporting with the right settings ensures our hard work looks great on any device. Troubleshooting common issues like syncing problems and quality degradation ensures our viewers get the best experience possible. Let’s keep refining our skills and producing videos that captivate and inspire.
Frequently Asked Questions
How can storytelling improve my YouTube videos?
Storytelling captures attention and keeps viewers engaged. By weaving a compelling narrative, you can evoke emotions and make content more memorable.
What are the top video editing tools for YouTube?
Adobe Premiere Pro, Final Cut Pro X, iMovie, and DaVinci Resolve are popular tools. They offer various features for enhancing video quality and visual appeal.
How do I optimize visual and audio elements in my videos?
Use high-quality recording equipment, ensure proper lighting, and use sound editing tools to balance and enhance audio. Adjust colors and transitions for a polished look.
What are the best export settings for YouTube videos?
Choose an MP4 format with H.264 codec, set the resolution to 1080p or 4K, and select a bitrate between 10-20 Mbps for quality playback.
How do I fix syncing problems in video editing?
Check frame rates and project settings for consistency. Use software features to manually adjust and sync audio and video tracks.
Why does video quality degrade after export?
This often happens due to incorrect export settings. Ensure optimal format, resolution, and bitrate settings for high-quality results.
How can I maintain video quality for YouTube?
Record in high resolution, use minimal compression, and follow YouTube's recommended upload settings. Regularly check and update your editing software.
